PBR materials based on Substance textures
I’ve prepared an example, how to setup a PBR material in Blender, that is based on bitmap textures exported by tools like Substance Painter, 3DCoat, MARI and other texture generating tools.
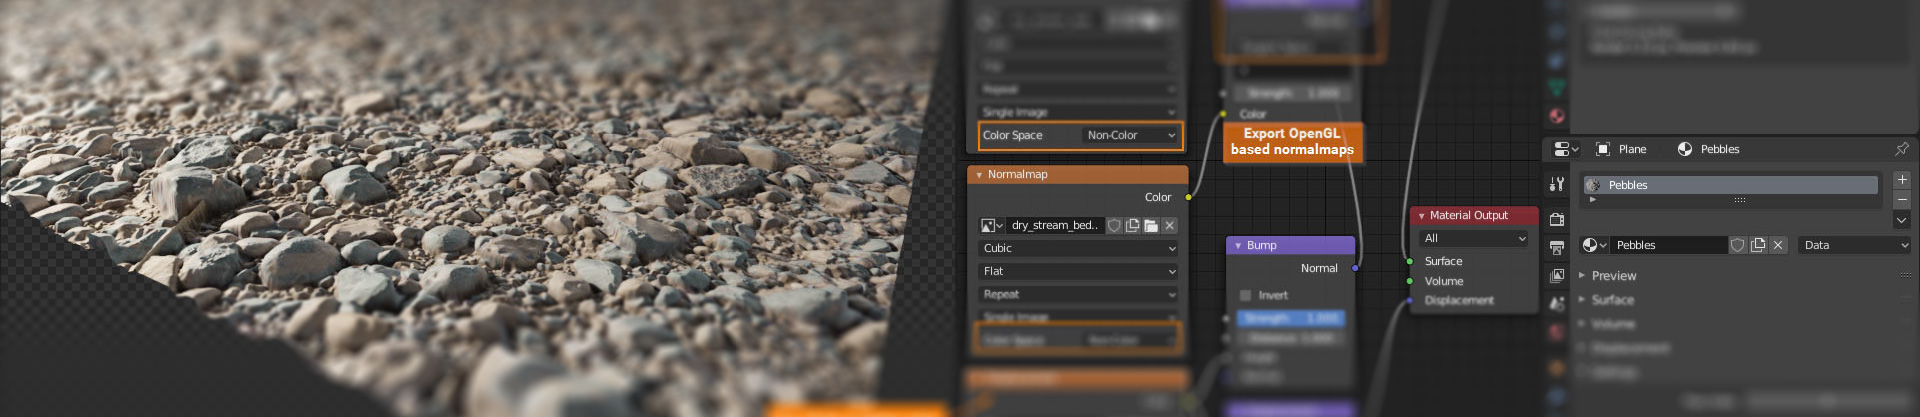
PBR material setup example in Blender
Here is a basic PBR setup, if you are using Substance Painter (or similar) bitmap textures in Blender.

PBR bitmap architecture
Following are the main image color values that are used for a default PBR material:
- Color = RGBA image
- Metal = Greyscale image
- Roughness = Greyscale image or channel
- Normal = RGB image
- Height = Greyscale image or channel
- Emission = RGB image or channel
- Opacity / Alpha = Greyscale image or channel
Try to use 16 bit depth color images. You are not forced to do this and can use 8 bit bitmaps too, but a 16 bit texture image increases the quality of the final rendering. Additionally 16 bit greyscale images deliver a much higher scalibility, if you are using them as height information for mesh displacement.
Following a comparism between a 8 bit greyscale image and a 16 bit image for using as height information:
- Amount of „height values“ that can be used in a 8 bit greyscale image/channel = 256
- Amount of „height values“ that can be used in a 16 bit greyscale image/channel = 65.536
You see the possibilities? Instead of having just 256 steps for height information in an 8 bit image, an 16 bit image delivers a much more detailed result.
Combine textures to save render time and memory
You can combine textures to save memory and the overall render times. Combined textures are bitmaps that include all information that is needed to create a PBR material. But instead of using a seperate file for every PBR parameter, you use just two or three bitmap files, that combine them all. To do this you just have to copy all the greyscale values like roughness or height seperately into the color channels of a single bitmap. To create such bitmaps you can use Adobe Photoshop e.g., or open source solutions like Gimp or Krita.
Examples for two combined bitmap structures:
- Bitmap 1 can be used for the main color informations of the texture.
Following the color channel architecture of this image:- R = Red image color channel
- G = Green image color channel
- B = Blue image color channel
- A = Opacity (optional) or Emission (optional)
- Bitmap 2 is used for the PBR data, if you are using Cycles or another path tracers. Some game engine materials support this way too:
Following the color channel architecture:- R = Metalness
- G = Roughness
- B = Height
- A = Emission
- Another variant is to use the normal map image and combine it with some additional values. Here’s an example:
- R = Use the red channel for the x/y-normal (You can use the x channel for the y-normal too, if you invert it)
- G = Use the green channel for Emission, Roughness or Metalness
- B = Blue channel for the z-normal
So you see, there are different options to optimise your scenes additionally.